Superior Garage Door » 3-Step Fix with Garage Photo Eye Sensors Problem

3-Step Fix with Garage Photo Eye Sensors Problem
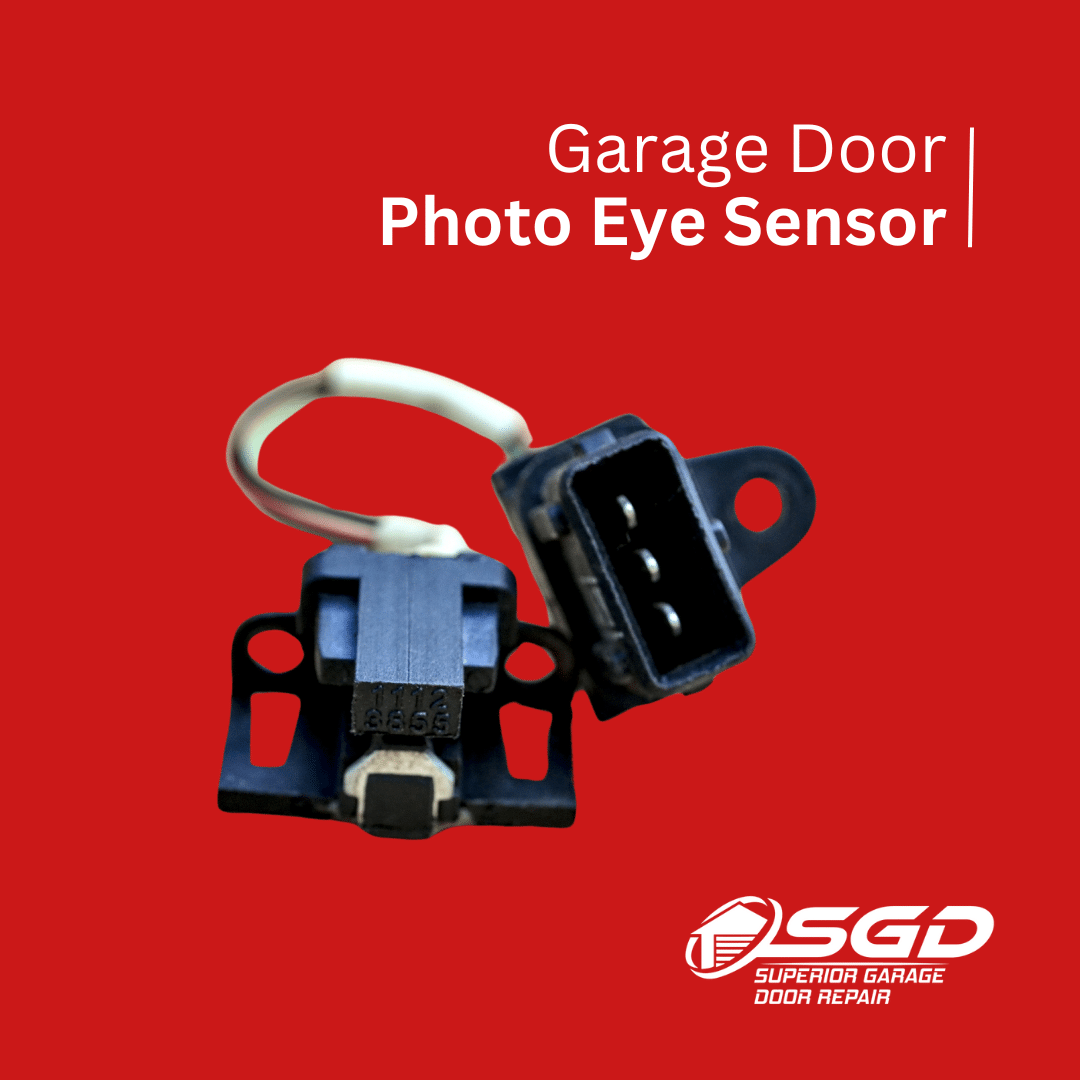
Photo eye sensors, also known as photocells or light detectors, are the silent guardians in various applications, controlling lights, doors, and security systems based on changes in light levels. But even these reliable workhorses can malfunction sometimes. Here’s a quick guide to troubleshoot common garage and gate door photo eye sensor problems:
Table of Contents
- Step 1
- Step 2
- Step 3
- Bonus Tip
Check for Obstructions and Dirt Buildup
Turn off the system:
- Before you begin cleaning the photo eye sensor, ensure the system it controls is turned off. This could be a garage door opener, automatic door opener, or any other appliance that utilizes the photo eye for functionality.
Locate the sensor:
- Identify the sensor. It’s usually a small rectangular box with a lens located near the base of the system it controls. In a garage door opener, for instance, it might be found on either side of the door near the floor.
Inspect the lens for obstructions:
- Carefully examine the lens of the sensor for any visible dirt, debris, cobwebs, or other obstructions that might be blocking its view. Look for leaves, dust, or even snow depending on your environment.
Clean the lens with a soft cloth:
- If you see any dirt or obstructions, gently wipe the lens of the sensor with a soft, dry cloth. Microfiber cloths are ideal for this task as they won’t leave any lint behind. Avoid using any abrasive materials or harsh chemicals that could damage the lens.
Test the sensor
- Once you’ve cleaned the lens, turn the system back on and test the sensor. If the problem was caused by obstructions or dirt buildup, the sensor should now function properly.
Additional Tips:
- If you’re unsure about the location of the photo eye sensor, consult the user manual for your specific system.
- If you’re uncomfortable cleaning the sensor yourself, you can always contact a qualified technician for assistance.
- Regularly inspect the sensor for dirt buildup to prevent future malfunctions.
By following these steps, you can easily check for obstructions and dirt buildup on your sensor and ensure it’s functioning correctly.
Verify Power and Connections
Test for Voltage with a Multimeter (if applicable):
- If the sensor uses a wall adapter, grab a multimeter to confirm voltage is reaching the sensor.
- Refer to your multimeter’s instructions for proper use on AC voltage.
- Briefly touch the probes to the designated spots on the sensor’s power terminals (consult the sensor’s manual for specific instructions).
- The multimeter should display a reading within the acceptable range (usually around the voltage your wall outlet supplies, which is around 120V in North America).
Secure Connections and Check for Damage:
- Give all the cables a good wiggle test! Make sure everything is securely plugged into the sensor and the power outlet (or adapter). Loose connections can interrupt power flow.
- Inspect the cables for any cuts, frays, or exposed wires. Damaged wires pose a safety hazard and should be replaced.
Replace Batteries (if applicable):
- If your photo eye sensor uses batteries, they might be running low. Pop in fresh batteries and see if that solves the problem.
By following these steps, you can ensure your sensor is receiving proper power and eliminate this as a potential cause of the malfunction.
Test and Reset (if applicable)
Photo eye sensors may have built-in features to help you diagnose and fix issues. Here’s how to proceed:
Consult the device manual:
- This is crucial as the specific steps will vary depending on your device’s model. The manual will provide precise instructions for testing and resetting the sensor.
Look for built-in test features:
- Some sensors have LED lights that indicate their operational status. A blinking light might signal a malfunction.
- The manual should explain what the light patterns mean and how to interpret them.
Utilize manual override switches (if available):
- Certain sensors have a manual override switch that allows them to function temporarily even if the sensor itself isn’t detecting properly. This switch is for troubleshooting purposes only and shouldn’t be used as a permanent solution.
- The manual will explain how to use the override switch and how to interpret sensor readings while it’s activated.
Reset the sensor (if applicable):
- Some sensors have a reset button. If yours does, consult the manual for specific instructions on how to reset it.
Remember:
- If you’re unsure about any steps or don’t feel comfortable troubleshooting the sensor yourself, consult a qualified technician.
- Never tamper with the sensor’s wiring or internal components unless the device manual instructs you to do so.
By following these steps and referencing your device’s manual, you can effectively test and potentially reset your photo eye sensor to restore functionality.
Bonus Tip:
If the above steps don’t solve the issue, refer to your device’s manual for troubleshooting specific to your model. Additionally, consulting a qualified technician might be necessary for more complex repairs.
Remember, always consult the user manual and follow safety precautions before attempting any repairs or adjustments. By following these simple steps, you can often get your photo eye sensors back in working order, ensuring your devices function smoothly and safely.