Superior Garage Door » 3-Step Fix Center Bearing Brackets and Door Panels Problem

3-Step Fix Center Bearing Brackets and Door Panels Problem
Is your once smooth-gliding door now creating a racket or showing an unwelcome gap? The culprit might be a worn-out center-bearing bracket or loose door panel. Before you call in the professionals, try these simple fixes:
Table of Contents
- Step 1
- Step 2
- Step 3
- Bonus Tip
Diagnose the Problem
The first step in fixing a noisy or malfunctioning door is crucial: diagnosing the problem. Without a proper diagnosis, you might end up applying the wrong fix or wasting time on unnecessary repairs. This step involves a three-pronged approach – listening, inspecting, and testing – to pinpoint the exact source of the issue.
- Listening: This initial step acts as a detective’s keen ear. As you open and close the door, pay close attention to where the sound originates. Does the noise come from the top or the bottom of the door? This simple distinction can significantly narrow down the possible culprits. For example, a scraping sound at the top could indicate a problem with the hinges or the door frame itself, while a grinding noise at the bottom might point toward a worn-out track or damaged rollers.
- Inspecting: Once you have a general idea based on the sound, it’s time to switch to detective vision. Give the door a thorough visual examination, focusing on areas of potential weakness. Look for any visible signs of damage on the center bearing brackets, which are the metal components that support the door’s weight as it hinges. Cracks, chips, or loose screws in these brackets could be causing the door to hang unevenly, leading to scraping or grinding noises. Additionally, check the surrounding area for any misalignment of the door frame or warped sections of the door itself.
- Wobble Test: This final step in the diagnosis phase involves a gentle but informative physical test. With the door closed, gently nudge the door panel at its midsection. The door should remain relatively stable. Excessive movement, however, indicates a problem with the overall support structure. This wobble could be caused by loose screws in the hinges, worn-out hinges themselves, or even a damaged door frame that’s no longer holding the door securely.
By following these steps – listening, inspecting, and testing – you can effectively diagnose the source of the door problem. This diagnosis will then guide you toward the most appropriate repair solution, saving you time, effort, and frustration in the long run.
Tackle the Center Bearing Bracket
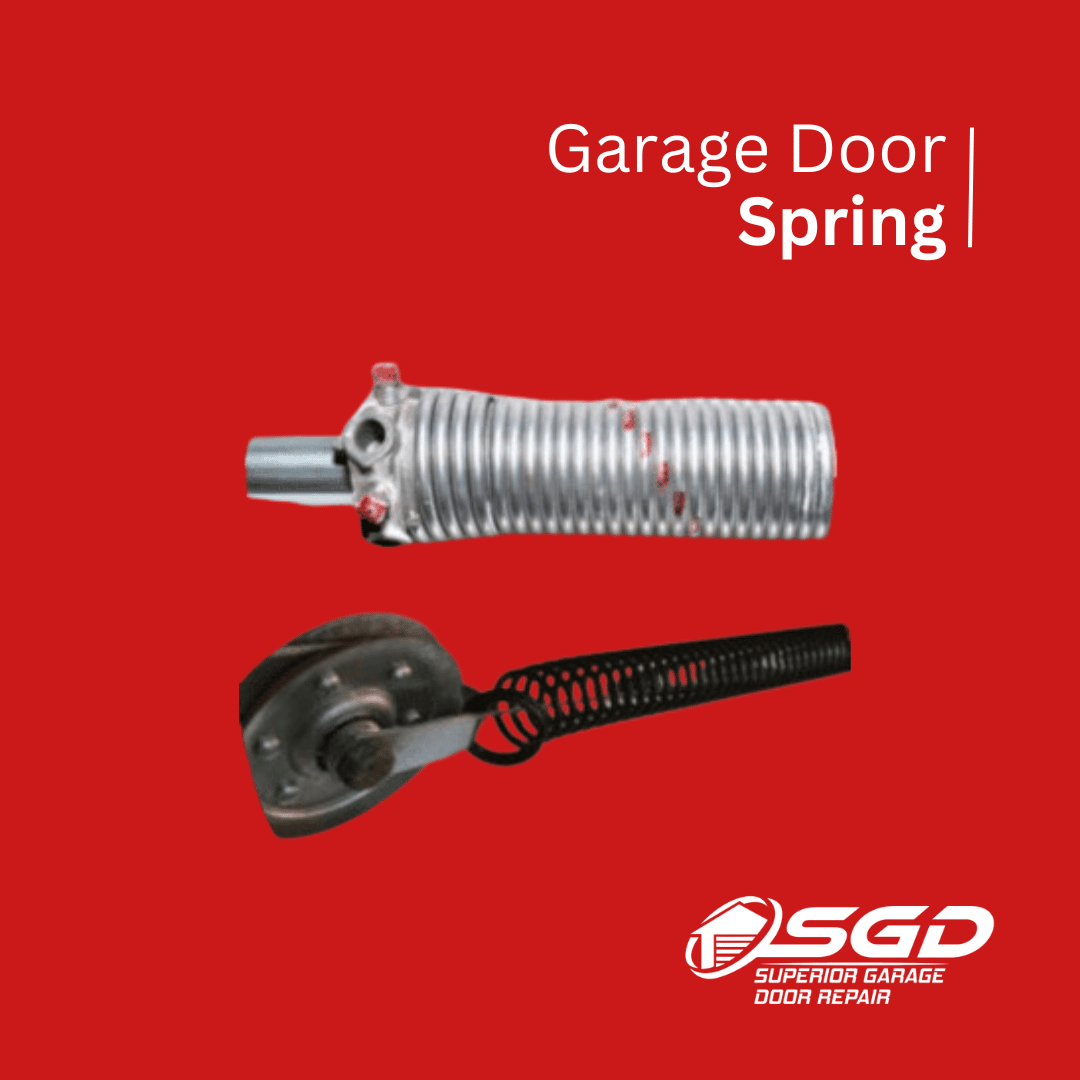
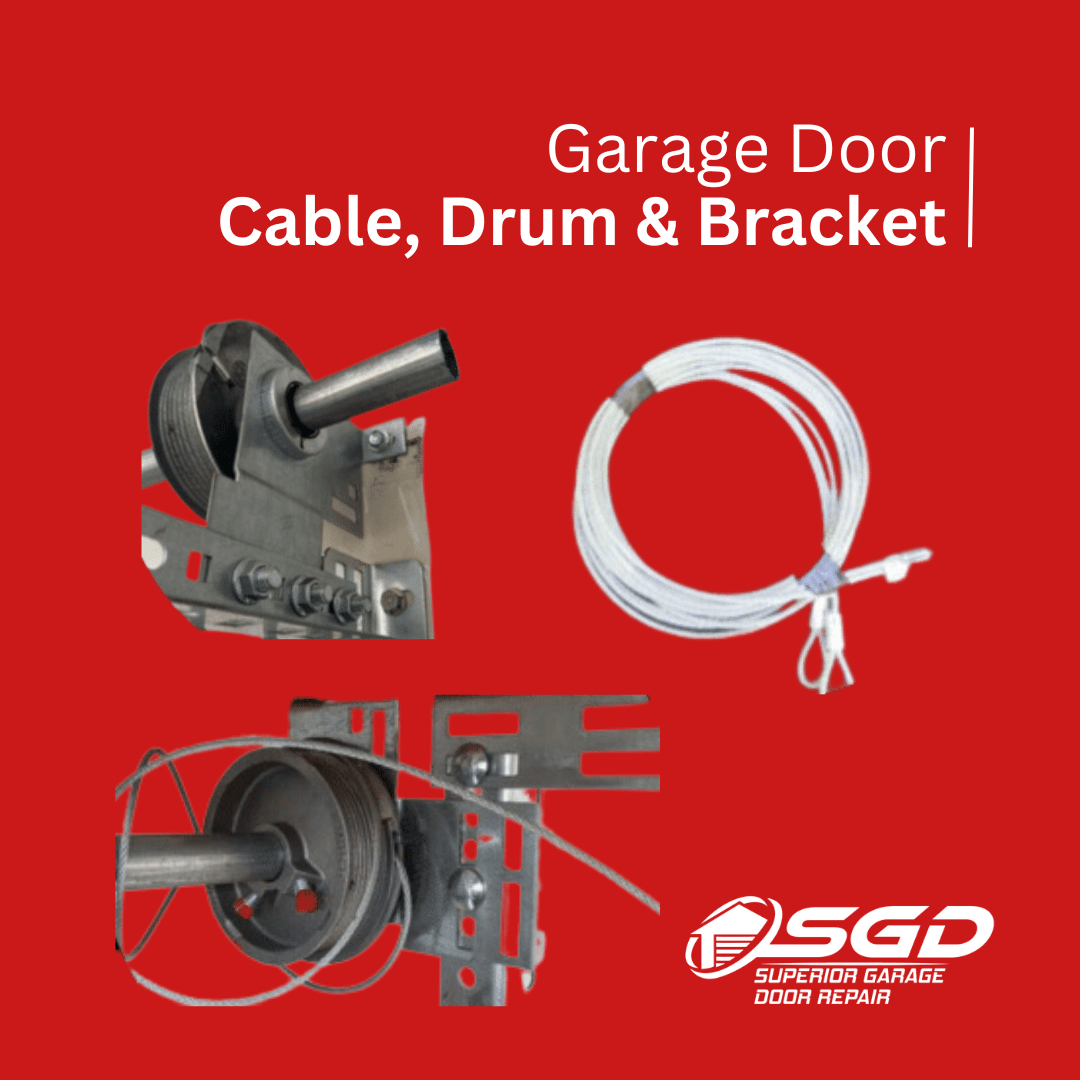
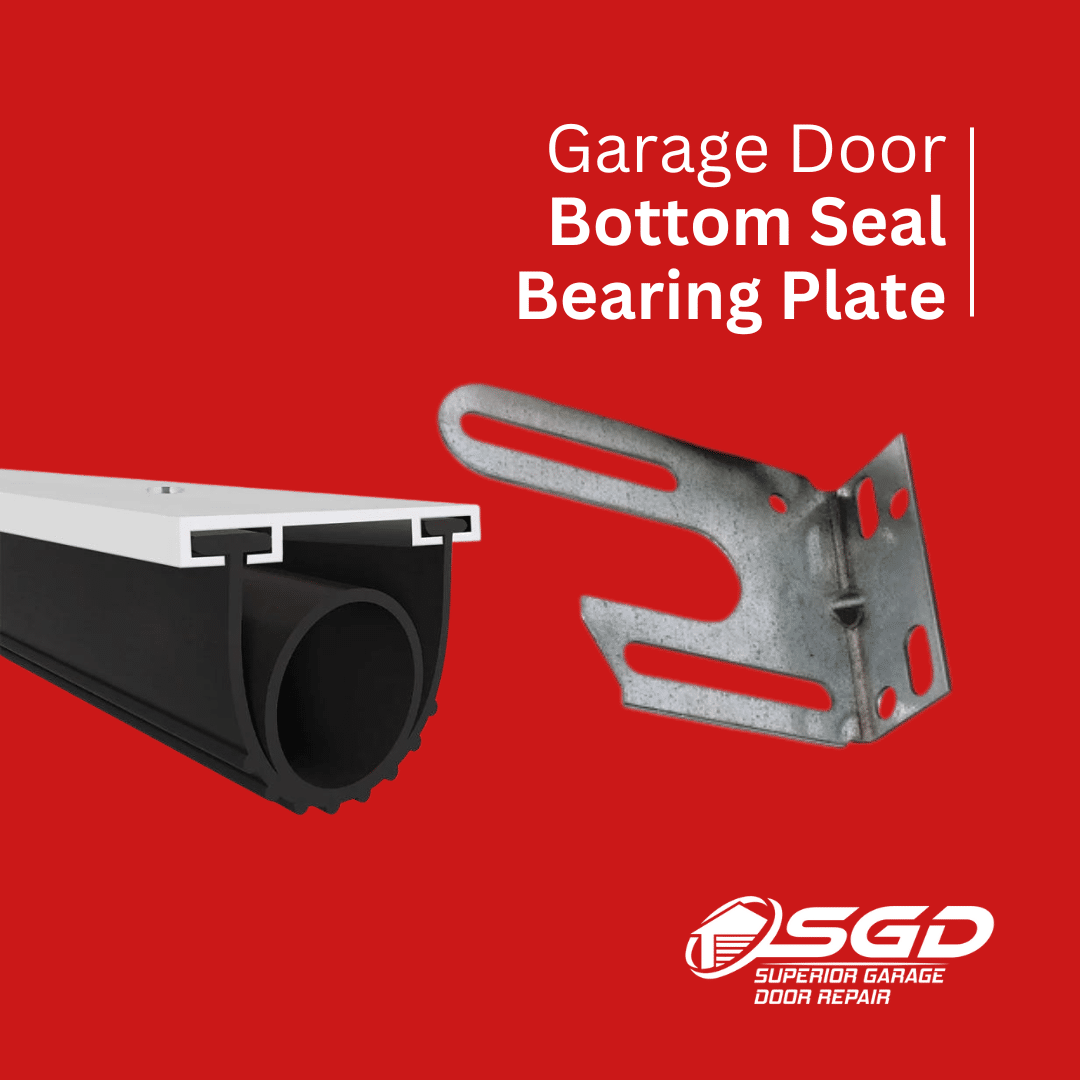
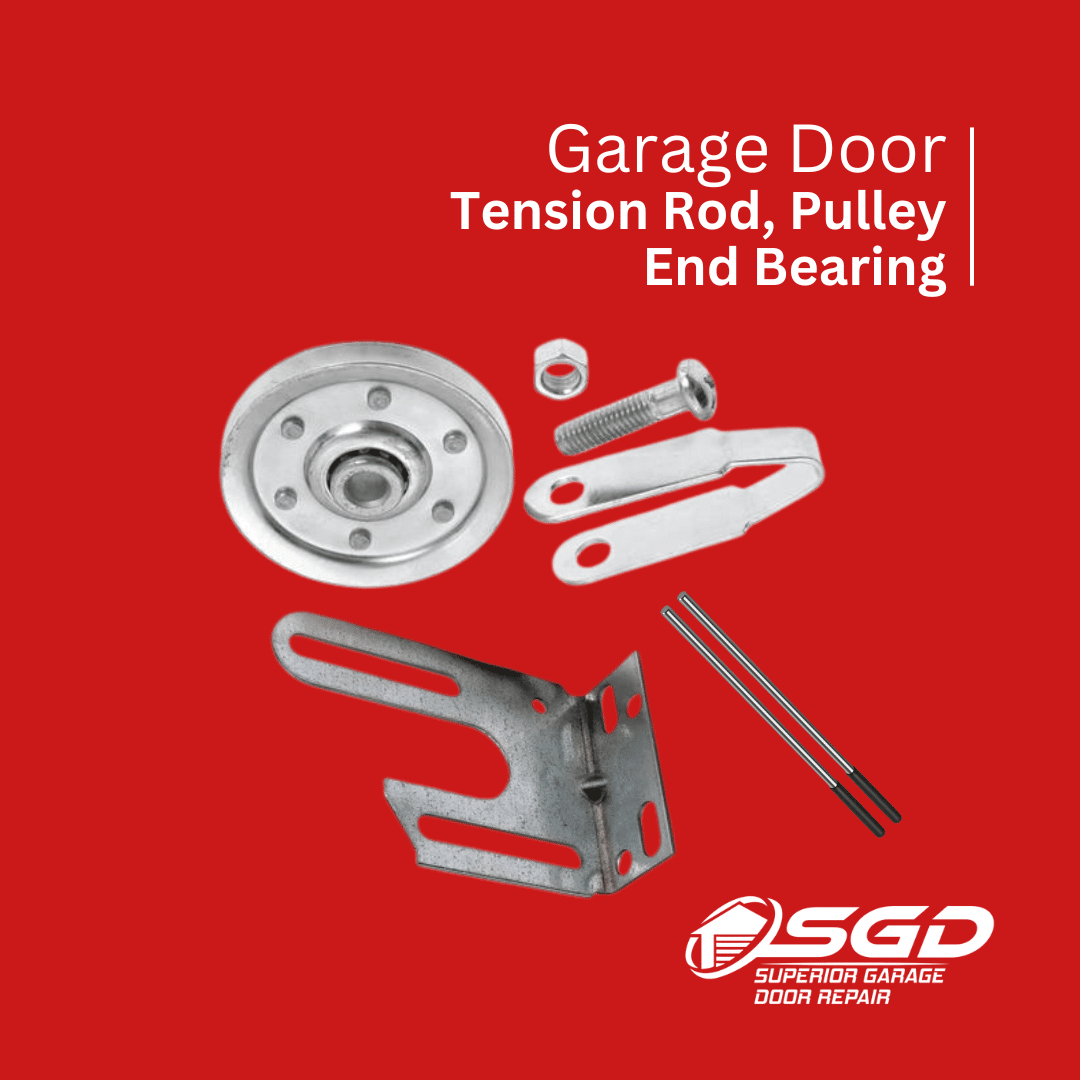
The center bearing bracket plays a crucial role in your door’s smooth operation. It acts as a support system, holding the driveshaft that transmits weight and allows the door to swing freely. This step focuses on identifying and addressing any issues with this vital component.
Tightening Up Loose Screws
- Sometimes, the culprit behind a troublesome door might not be a major malfunction, but rather a simple case of loose screws. These can develop over time due to wear and tear, or even improper installation. Grab your trusty toolbox and locate the appropriate screwdriver that matches the screw heads on the center bearing bracket. Gently but firmly tighten each screw until it feels snug. Remember, the key word here is “snug.” Over-tightening can damage the threads or even crack the bracket itself, so avoid turning them into immovable objects.
Replacing a Damaged Bracket
- Unfortunately, loose screws aren’t always the answer. If, upon inspection, you discover the center bearing bracket itself is cracked, chipped, or shows significant wear, a replacement is your best course of action. A compromised bracket can lead to further problems down the road, causing the door to bind, wobble, or even fail completely.
Consulting the Experts
- Replacing a center-bearing bracket might sound daunting, but fear not! Help is readily available. Your first stop should be the door’s manufacturer. They’ll likely have the exact replacement part you need, ensuring perfect compatibility. Alternatively, a local hardware store can be a valuable resource. Bring the old bracket with you, and a knowledgeable staff member can help you find a suitable match based on its size, shape, and screw hole configuration.
Remember, a little detective work in Step 2 can save you from bigger headaches in the future. By addressing any issues with the center-bearing bracket promptly, you can ensure your door continues to swing smoothly and reliably for years to come.
Address the Door Panel
We’ve conquered the door frame in the previous steps, but sometimes the culprit of a problematic door lies within the panel itself. Step 3 tackles two key aspects of the door panel: ensuring smooth gliding and maintaining structural integrity.
Adjusting the Rollers
Imagine tiny wheels silently guiding your door along its track. Those are the rollers, typically found at the bottom of the door panel. They’re the workhorses, silently ensuring your door opens and closes effortlessly. However, over time, these rollers can become misaligned or worn, leading to a frustrating struggle with a door that rubs, drags, or gets stuck.
This is where the adjustment screw comes in. Think of it as a fine-tuning knob for your door. By carefully turning the screw (usually with a screwdriver), you can raise or lower the rollers. The goal is to find the sweet spot where the rollers make perfect contact with the track. A properly adjusted roller glides smoothly, keeping the door perfectly aligned within the frame.
Tightening Panel Screws
Just like a well-tuned car, a sturdy door panel is essential for a smooth operation. Over time, screws that hold the panel together can loosen, causing the door to wobble or even rattle unpleasantly. This can be especially noticeable when the door is shut or during forceful movements.
Step 3 emphasizes the importance of checking these panel screws for tightness. Remember, a gentle touch is key here. Over-tightening screws can damage the panel or strip the threads. The aim is to achieve a snug fit that eliminates any unwanted noise or movement. A secure panel translates to a more stable and satisfying door operation.
By following these steps, you’ll address the internal workings of the door panel, ensuring both smooth gliding and a sturdy structure. This attention to detail will eliminate the frustration of a malfunctioning door and contribute to a more peaceful and functional home environment.
Remember:
- If you’re unsure about any step, consult a professional handyman or refer to your door’s user manual for specific instructions.
- Always use the appropriate tools and safety equipment when working on your doors.
By following these simple steps, you can often solve common center-bearing bracket and door panel issues, restoring peace to your home.
Bonus Tip: Lubricate Regularly
Keeping the moving parts of your door lubricated is a great preventative measure to avoid future problems. Apply a silicone-based lubricant to the tracks, rollers, and hinges every few months. This will minimize friction and wear, ensuring your door continues to glide smoothly and quietly for years to come.