Superior Garage Door » 3-Step Fix for Garage Door Bottom Seals and Bearing Plates

3-Step Fix for Garage Door Bottom Seals and Bearing Plates
Is your garage door noisy when opening or closing? Does it seem less efficient at keeping out the elements? The problem might lie with your bottom seal or bearing plate. These parts are essential for a smooth, quiet operation and a well-sealed garage.
Fear not! This guide offers a simple 3-step process to conquer these common garage door woes:
Table of Contents
- Step 1
- Step 2
- Step 3
- Bonus Tip
Diagnose the Problem
The first step to fixing any issue is figuring out what’s wrong! Here, we’ll diagnose potential problems with your garage door opener by focusing on two key components: the bottom seal and the bearing plate.
Bottom Seal: This rubber or vinyl strip forms a tight barrier along the bottom edge of your garage door. A healthy seal keeps out dust, rain, leaves, and unwanted guests. Inspect the bottom seal for:
- Cracks and Tears: Run your hand along the seal. Any rips or tears will allow outside air, water, and even small animals to enter your garage.
- Excessive Flattening: Over time, the seal can compress and lose its ability to form a tight barrier. Visually check if the seal appears flattened or uneven.
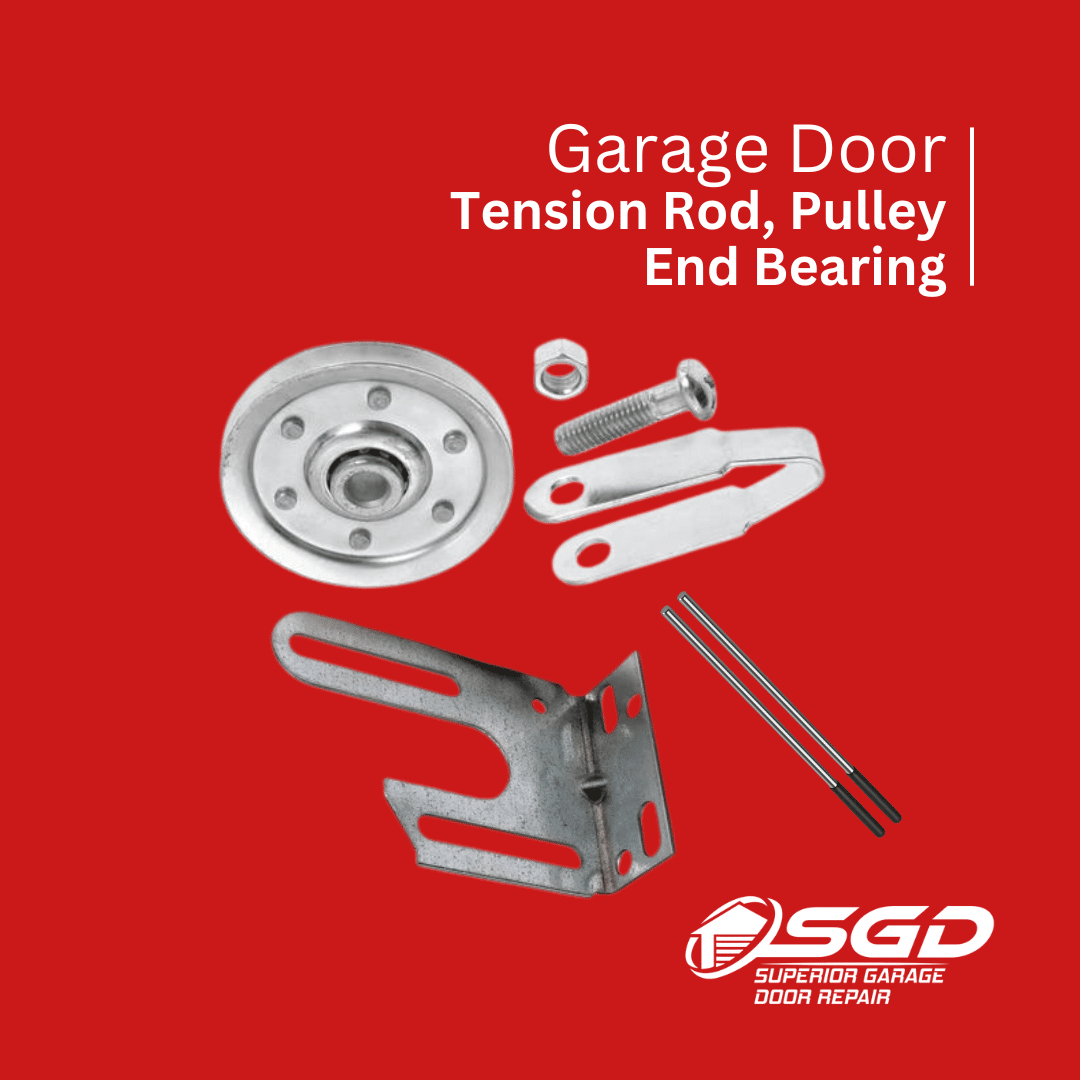
Bearing Plate: This metal plate supports the drive mechanism of your opener. A worn bearing plate can cause problems:
- Grinding Noises: Listen for any grinding sounds during operation. These might indicate a worn bearing plate struggling to function smoothly.
- Uneven Wear: If the bearing plate isn’t functioning properly, it can cause uneven wear on other parts of the opener mechanism.
By checking these two areas first, you can narrow down the source of potential problems with your garage door opener. If you find damage to the bottom seal, replacing it is a relatively simple fix. However, a worn bearing plate might require a more involved repair or even replacing the opener itself.
Remember, this is just the first step! If you diagnose a problem here, you can then move on to troubleshooting solutions or consult a professional for repairs.
Gather Your Supplies
Before tackling your garage door, it’s essential to gather the right tools and materials. This will ensure a smooth repair process and prevent any unnecessary frustration. Here’s what you’ll need:
- The Perfect Fit: Get your hands on a replacement bottom seal specifically designed for your garage door model. Mismatched seals won’t create a proper barrier, so double-check the fit before purchasing.
- Optional Muscle: Depending on your garage door’s design, you might need to remove the bearing plate to access the bottom seal easily. If that’s the case, then having a screwdriver and wrench on hand will be crucial for taking off and putting the plate back in place.
- Safety First: Protect your hands throughout the repair process with a good pair of work gloves. They’ll shield you from cuts, scrapes, and pinches while you handle the tools and replacement seal.
By having these supplies within reach, you’ll be well-equipped to tackle the replacement process efficiently and safely. Remember, the specific tools you need might vary depending on your garage door’s design, so consult your door’s manual if you’re unsure about anything.
Step 3: Fix it Up!
Bottom Seal:
- Safety First: Disengage the garage door opener to prevent accidental operation.
- Out with the Old: Completely remove the old seal by carefully pulling it out of the track.
- Clean Up Crew: Get rid of any dirt or debris in the track where the new seal will sit. A clean surface ensures a proper fit.
- New Seal, New Deal: Following the manufacturer’s instructions (usually included with the new seal), install the new seal into the track.
- Power Up: Re-engage the garage door opener for smooth operation.
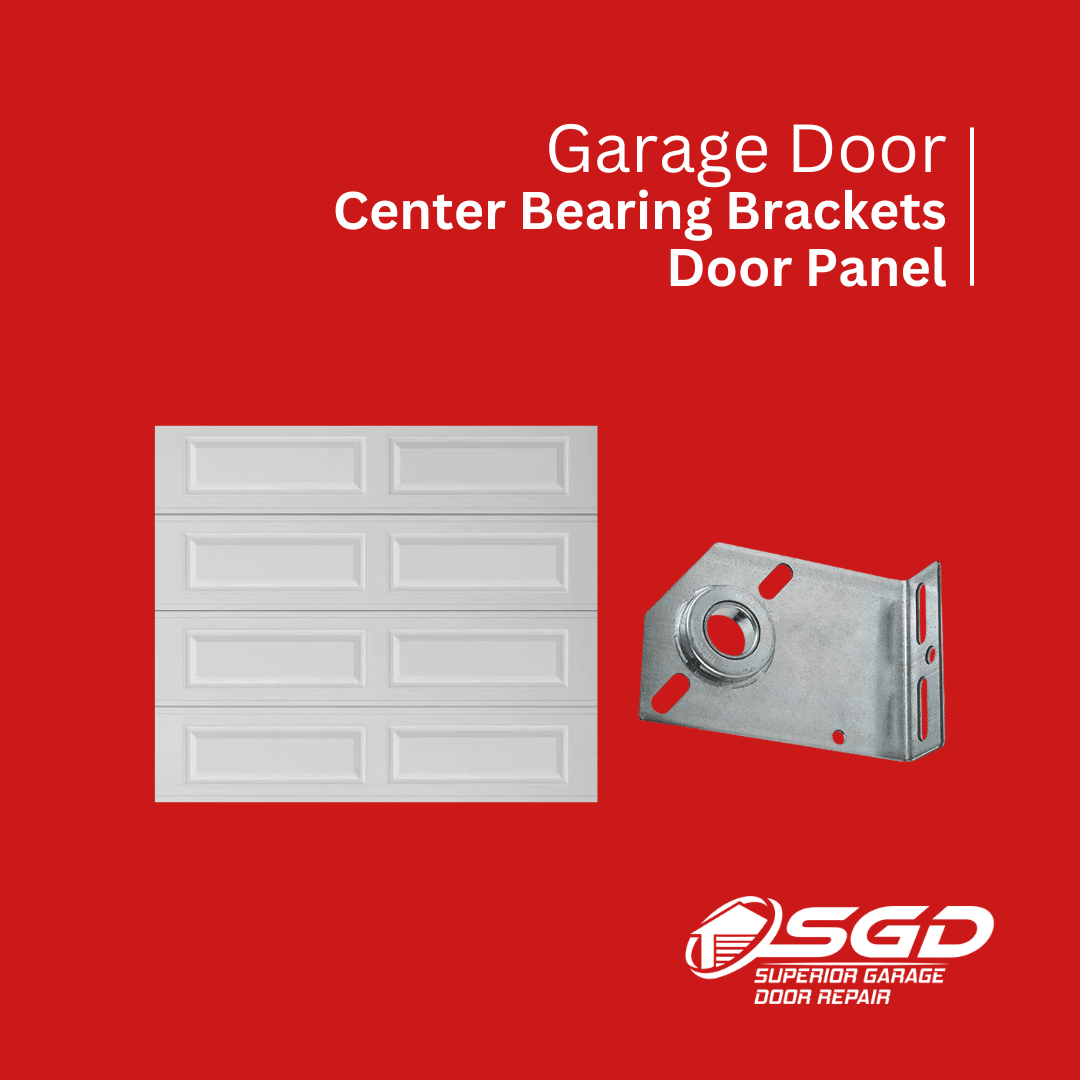
Bearing Plate:
- Safety First, Again: Disengage the garage door opener and secure the door in its fully open position using safety blocks. This prevents the door from accidentally falling while you work.
- Consult the Manual: Your garage door opener manual is your best friend here. Refer to it for specific instructions on removing the bearing plate. This typically involves using a screwdriver or wrench.
- Swap and Secure: Remove the worn bearing plate and replace it with your shiny new one. Tighten the screws or bolts securely to ensure a stable connection.
- Reassemble and Test: Reattach everything you disassembled following the manual’s guidance. Finally, test the operation of your garage door. Make sure it opens and closes smoothly and quietly.
Bonus Tip:
For optimal performance, lubricate the moving parts of your garage door opener (refer to the manual for recommended lubricants and locations) once a year. This will keep things running smoothly and quietly for longer.
By following these simple steps, you can keep your garage door operating efficiently and eliminate those pesky noises!